BlinkThorLabs
Building MeKongBot: A Full-Stack ADAS Robot on a Hobbyist Budget
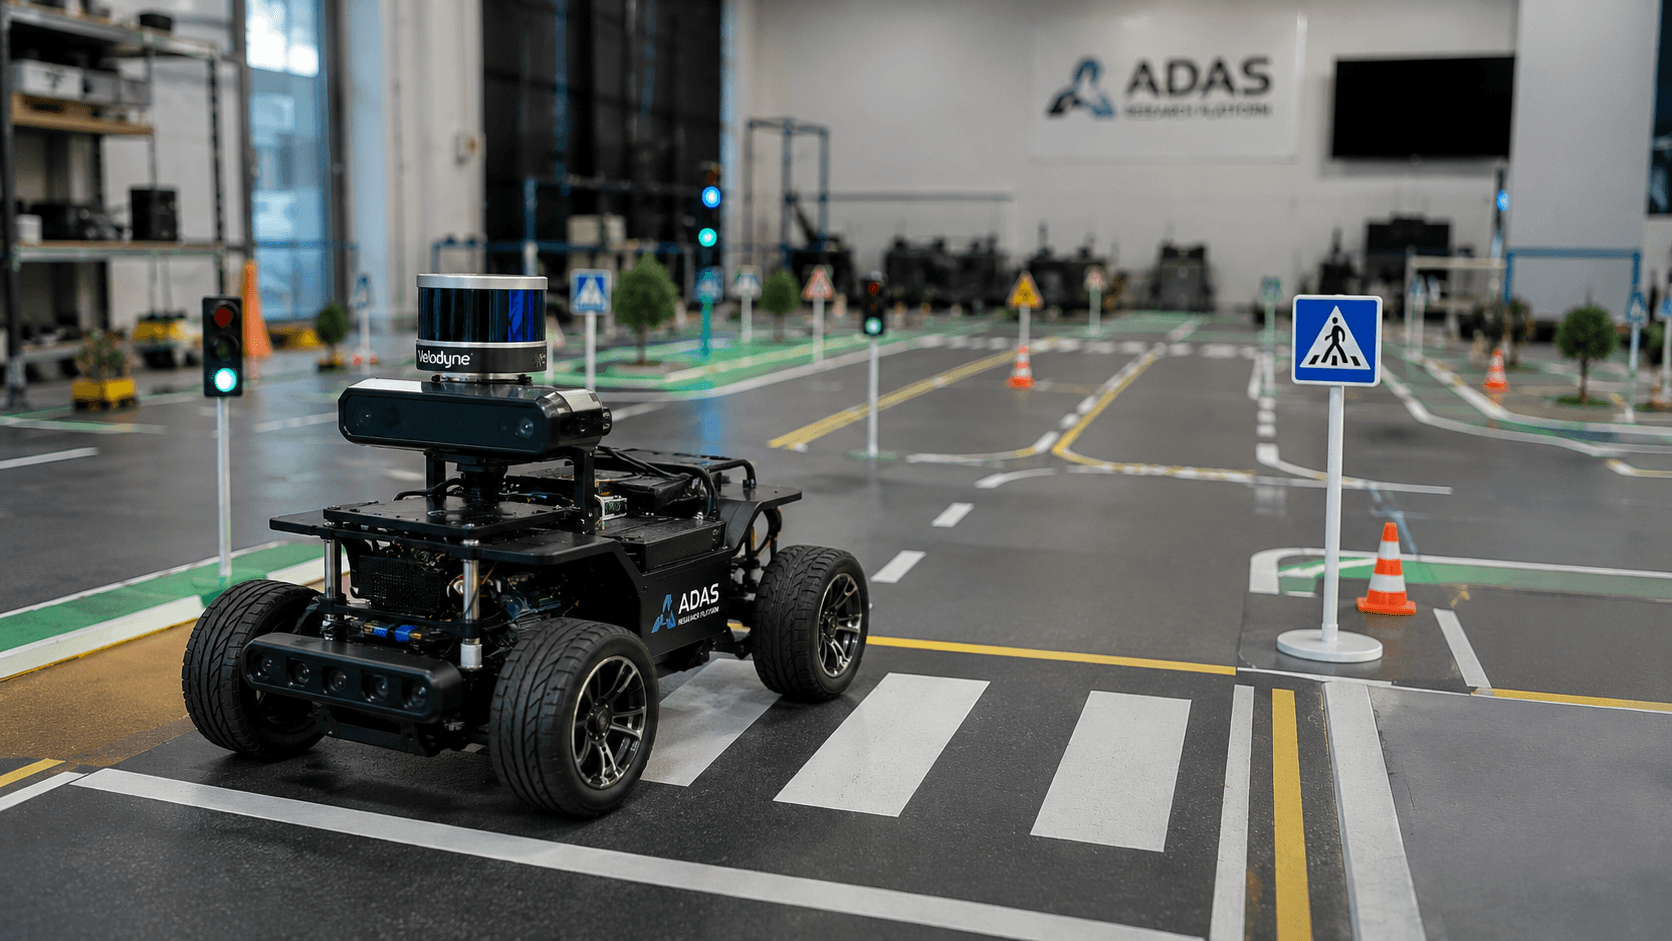
Perception, planning, vehicle control, safety logic, and HMI — at 1/10 scale, on a desk, without touching a real car.
I've spent years working on ADAS software for actual vehicles, which mostly means I've spent years not being allowed to touch actual vehicles very often, because test track time is expensive, scheduled weeks out, and not exactly forgiving of "let me just try something real quick." So a few months ago I decided to build the thing I actually wanted: a small enough, cheap enough, mine enough platform that I could test perception and control ideas on my own desk, on my own schedule, and crash it into a foam barrier instead of a guardrail. This is the six-week build log.
Week 1: Choosing Hardware I'd Actually Regret Less
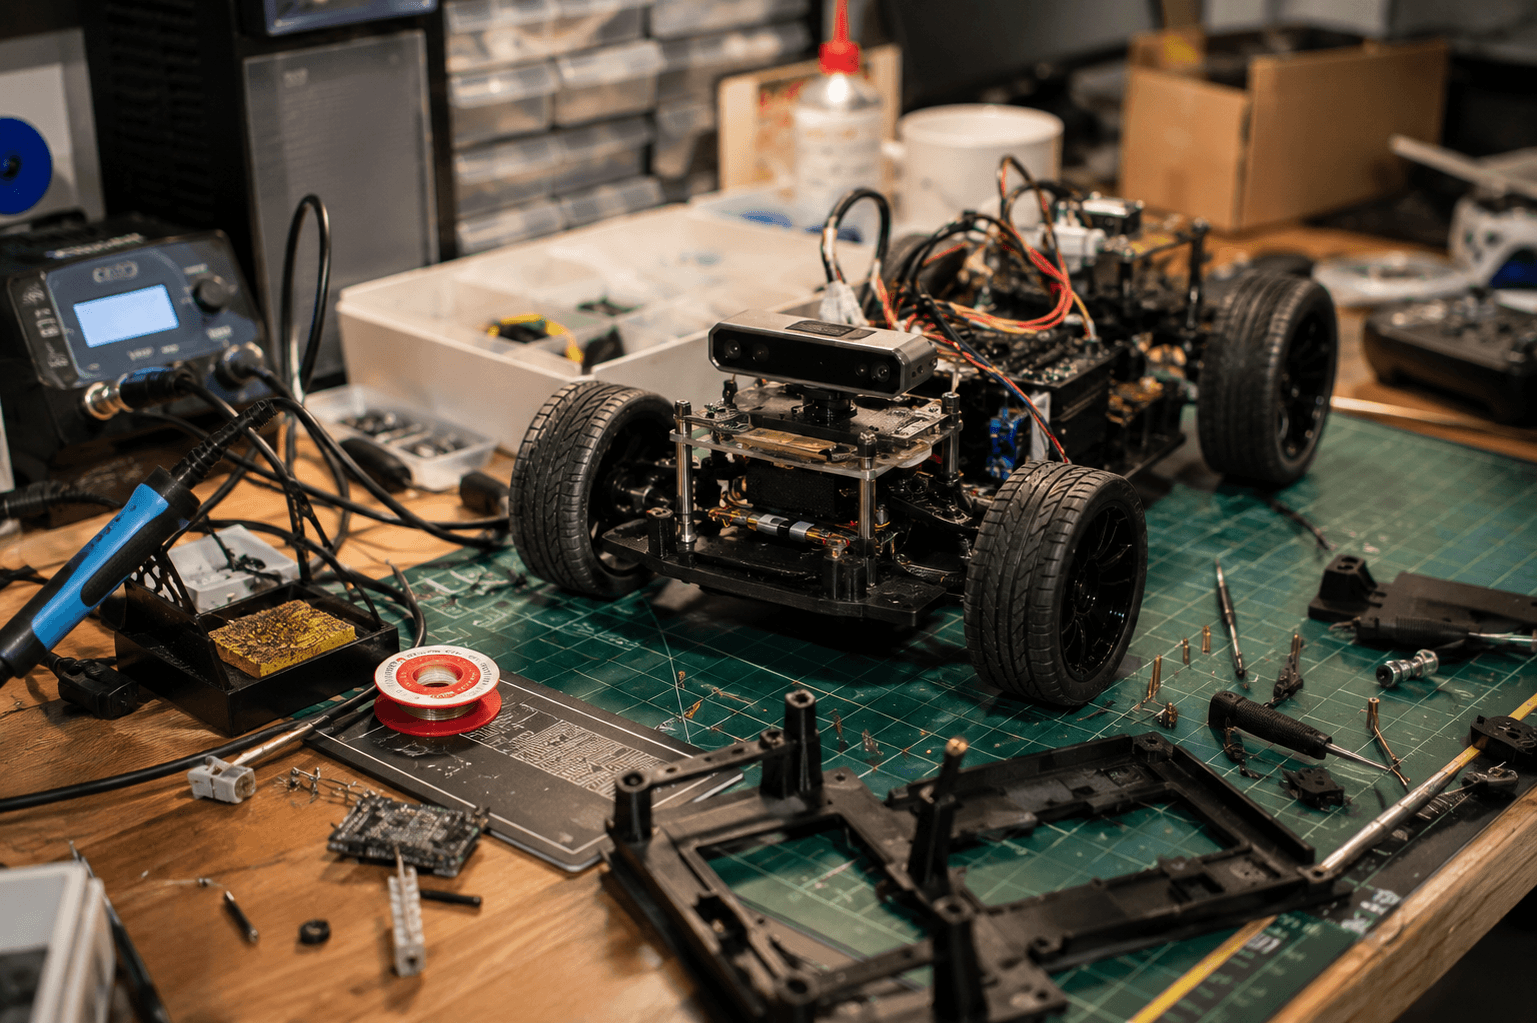
The first week was almost entirely spent not building anything, which felt unproductive at the time and turned out to be the most important week of the whole project. Hardware decisions compound — get the compute platform wrong and you're re-wiring everything in week 4.
I landed on a split-compute architecture rather than one single board doing everything, because that's actually closer to how real ADAS systems are structured, and I wanted the platform to teach me something honest, not just work:
- ESP32-S3 for the low-level, real-time stuff — motor PWM, servo steering control, encoder feedback, ultrasonic sensing, watchdog/E-stop logic. This runs FreeRTOS and lives close to the hardware.
- Raspberry Pi for the "smart" side — camera processing, YOLOv8 inference, lane detection, decision-making, and telemetry to a laptop HMI.
- A small LiDAR unit (a low-cost 360° spinning LiDAR, nowhere near automotive-grade but genuinely capable of decent obstacle ranging at this scale) mounted on the roof.
- A basic front-facing camera module for lane and object detection.
The split matters for a reason beyond nostalgia for real ADAS architecture: if the Pi's inference pipeline hangs or lags, I don't want steering control to hang with it. That single design decision ended up saving me in Week 4, which I did not see coming yet in Week 1.
Week 2: The Chassis, and Learning to Hate Print Warping
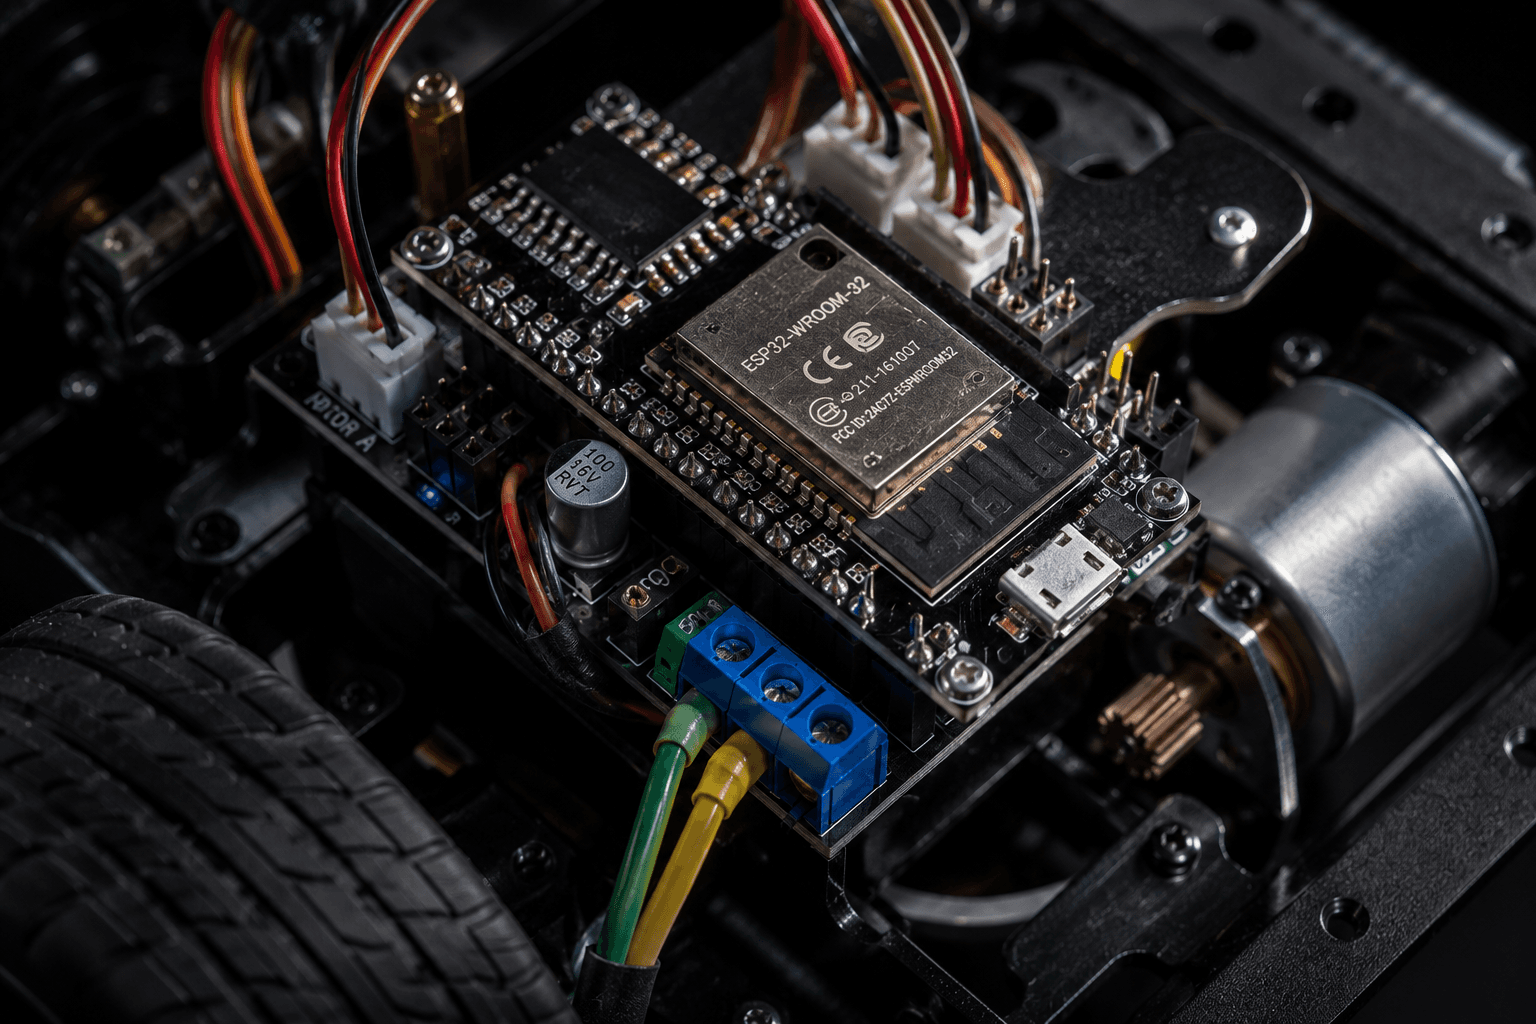
I designed the chassis in Fusion 360 as a rough 1/10-scale off-road-ish frame, sized to fit the ESP32, Pi, LiDAR mount, and battery with room to actually access wiring later (a mistake I've made before on smaller projects — "no room to debug" is a design flaw, not a minor inconvenience).
3D printing this took longer than expected, mostly because my first two print attempts warped at the corners badly enough to throw off the wheel mount alignment — a few degrees of frame twist doesn't sound like much until your "straight line" test on Week 5 turns into a gentle, consistent curve, and you spend an embarrassing hour debugging your motor control code before realizing the chassis itself is the problem. Lesson relearned: check the physical platform for square before blaming the software, every single time, no exceptions, especially when you're eager to get to the "real" work.
Third print, properly bed-adhered and slower-printed at the corners, came out true. Wheels went on. It looked, for the first time, like an actual vehicle rather than a pile of parts.
Week 3: FreeRTOS, Motors, and Learning Why Real-Time Actually Means Something
This week was the ESP32-S3 firmware — motor PWM control, servo steering, and encoder feedback, all running as separate FreeRTOS tasks at different priorities. I'd worked with FreeRTOS professionally before, but there's something clarifying about being the only person responsible for every task's priority and timing on a project you can watch fail in real time on your own desk.
The specific thing I actually learned this week, rather than just applied: my first pass had the encoder-reading task at the same priority as the telemetry-reporting task over serial, and under load, telemetry reporting would occasionally starve encoder polling for long enough to introduce visible jitter into speed control — a small-scale, hobbyist-grade taste of exactly the kind of priority scheduling issue I'd read about (and written about) in professional RTOS work, but never personally felt happen under my own fingers before. Bumping encoder polling to a higher priority than telemetry fixed it immediately. It's a genuinely different kind of understanding, feeling a scheduling bug happen to your robot instead of reading about it happening to someone else's ECU.
By the end of the week, MeKongBot could drive forward, reverse, and turn on command from a laptop over serial — not intelligent yet, but mechanically alive.
Week 4: YOLOv8, and the Moment the Split Architecture Paid Off
Time to make it see. I trained a lightweight YOLOv8n model on a small custom dataset — miniature traffic signs, small foam pedestrian cutouts, and toy cars, photographed at the robot's actual eye-level height (a detail that mattered more than I expected; training on photos taken from standing height produced a model that struggled with the robot's own much lower, much closer camera perspective).
Running inference on the Raspberry Pi, even after converting to a lighter runtime, introduced noticeable latency spikes whenever the model was under heavier compute load — occasionally over 200ms, which is a long time in robot-reaction terms at this scale. This is exactly where Week 1's split-architecture decision quietly paid for itself: because motor control and safety logic lived entirely on the separate real-time ESP32, a slow perception frame never once caused a control glitch. The robot might briefly "think" a little slower, but it never twitched, stuttered, or lost its footing because the Pi was busy. That firewall between "smart but sometimes slow" and "dumb but always on time" is, not coincidentally, one of the actual architectural principles real ADAS systems are built around — it was satisfying to feel it justify itself on hardware I built myself, rather than just knowing it as an abstract best practice.
Week 5: Lane-Keeping, PID, and More Curve-Fighting Than Expected
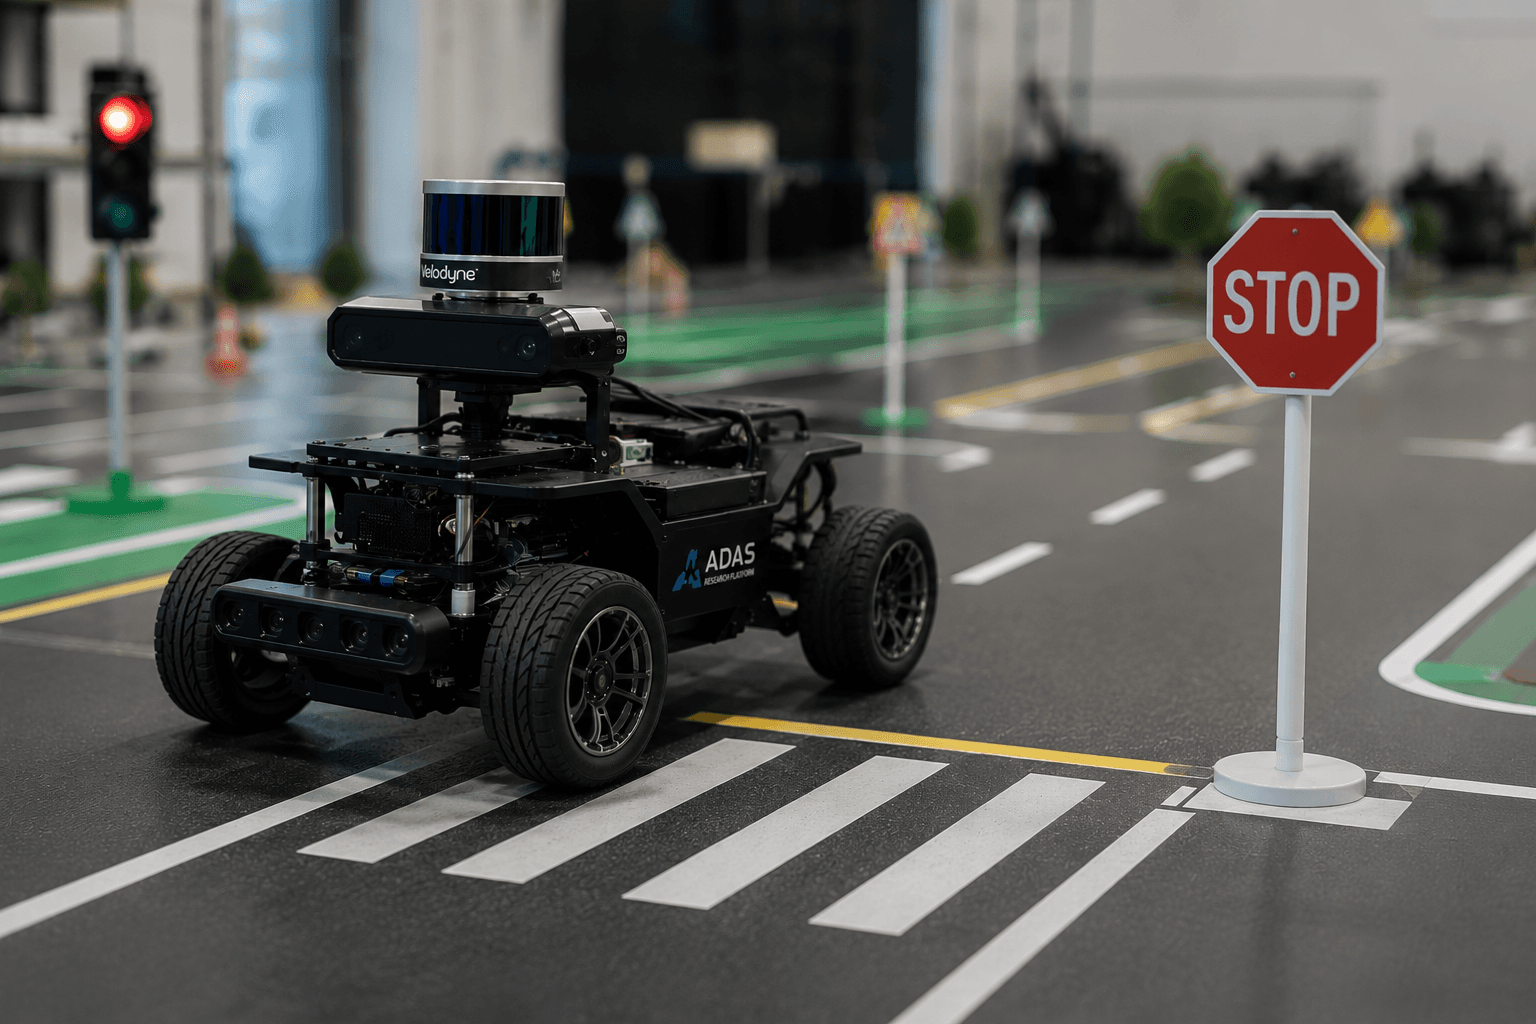
Lane detection used a lightweight line-following model (UFLD-style, adapted down for the small scale and simple painted-tape lane markings on my indoor test track) feeding into a dual-point PID controller for steering, with curvature feed-forward and outlier rejection so a single bad detection frame wouldn't yank the steering hard in one frame and then hard back in the next.
Tuning PID gains on a real physical robot instead of in simulation was its own kind of humbling — a gain set that looked perfectly smooth in a quick desk test turned into a mild, rhythmic wobble at higher speed on the actual test track, because the real system had motor response lag and wheel slip that my mental model hadn't fully accounted for. A few evenings of iterative gain tuning, camera-offset compensation, and revisiting that Week 2 chassis-squareness issue (still not fully forgiven) got it tracking the taped lane cleanly at a walking-equivalent scaled speed.
Week 6: Putting It All Together on the Test Track
Final week: full integration. Perception (camera + LiDAR) feeding into a simple YAML-defined scenario engine I'd built for behaviors like red-light stop, speed-limit enforcement, pedestrian response, and curve slow-down. UDP telemetry streaming to a laptop-based HMI dashboard showing live camera feed, detected objects, and vehicle state. The whole stack — perception, planning, control, safety logic, and HMI — running together for the first time on the little test track I'd built out of painter's tape and cardboard traffic signs on my living room floor.
Watching it correctly detect a small stop sign, come to a smooth stop, wait, and pull away again — entirely on hardware and code I'd built across six weeks of evenings — was a genuinely different kind of satisfying than any professional milestone I can point to, mostly because there was no test schedule, no track booking, no six-person review meeting standing between an idea and seeing it actually happen. Just my own desk, a robot about the size of a shoebox, and a Tuesday evening.
What I'd Tell Past Me
Get the chassis geometrically right before writing a single line of control code — a twisted frame will cost you debugging hours in software for a problem that lives entirely in plastic. Split real-time control from perception/AI compute early, even on a hobby project — the discipline transfers directly and the payoff (a slow brain that never causes a twitchy body) is worth the added wiring complexity from day one. And build your test dataset from the robot's actual eye level, not your own — the model doesn't care how the world looks to you, only how it looks to the camera it actually has.
MeKongBot is nowhere near production-grade ADAS, and it was never meant to be. It's meant to be the platform where a bad idea costs me an evening instead of a test-track booking, and after six weeks, that's exactly what it's become.